Introduction:
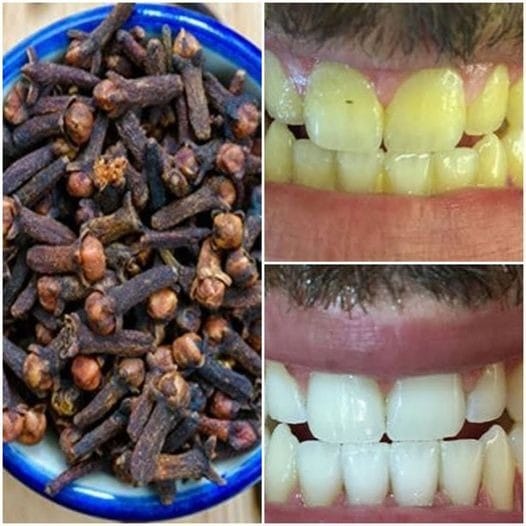
Are you tired of dealing with tartar buildup and longing for a brighter, whiter smile? Commercial teeth-whitening products can be expensive and often contain harsh chemicals. Fortunately, there’s a natural and cost-effective solution right in your own kitchen! In this article, we’ll explore how to make a DIY teeth-whitening paste using simple, natural ingredients that can help you achieve a radiant smile without breaking the bank.
Ingredients:
- Baking soda
- Hydrogen peroxide
- Peppermint essential oil (optional, for flavor)
- A small bowl for mixing
- A spoon for stirring
Step 1: Measure the Ingredients
Start by measuring out one tablespoon of baking soda and one tablespoon of hydrogen peroxide. Baking soda is a mild abrasive that can help scrub away surface stains on your teeth, while hydrogen peroxide acts as a bleaching agent to lighten discoloration.
Step 2: Mix the Ingredients
Pour the measured baking soda and hydrogen peroxide into a small bowl. Use the spoon to mix the ingredients together until you form a thick paste-like consistency. If desired, add a drop or two of peppermint essential oil for a fresh flavor.
Step 3: Apply the Paste to Your Teeth
Using a clean toothbrush, scoop up a small amount of the DIY teeth-whitening paste and apply it to your teeth. Gently brush your teeth in circular motions, making sure to cover all surfaces evenly. Take care not to scrub too hard, as baking soda can be abrasive if used excessively.
Step 4: Let It Sit
Once you’ve brushed your teeth with the paste, let it sit on your teeth for 1-2 minutes to allow the ingredients to work their magic. During this time, the baking soda will help lift surface stains, while the hydrogen peroxide will penetrate deeper to whiten your teeth.
Step 5: Rinse Thoroughly
After 1-2 minutes have passed, thoroughly rinse your mouth with water to remove the teeth-whitening paste. Make sure to spit out the mixture completely and rinse your toothbrush as well.
Step 6: Brush with Toothpaste
To finish off the process, brush your teeth with your regular toothpaste to remove any remaining residue and leave your mouth feeling fresh. This step also helps to neutralize the taste of the baking soda and hydrogen peroxide.
Step 7: Repeat as Needed
For best results, repeat this DIY teeth-whitening treatment 2-3 times per week until you achieve your desired level of whitening. However, it’s important not to overdo it, as excessive use of baking soda can wear down tooth enamel over time.
Conclusion:
With this simple DIY teeth-whitening paste, you can say goodbye to tartar buildup and hello to a brighter, more radiant smile! By using natural ingredients like baking soda and hydrogen peroxide, you can effectively whiten your teeth without exposing them to harsh chemicals. Give this homemade remedy a try and see the difference it can make for your smile!
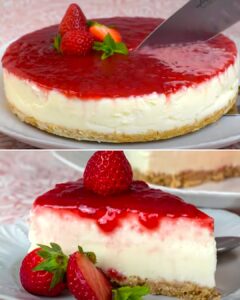
- Strawberry Cheesecake
- Soft Butter Bread

- Sausage Green Bean Potato Casserole

- Best Caprese Pasta Salad

- Chocolate Peanut Butter Cheesecake

- Fluffy Doughnuts for Beginners

- Bacon Cheeseburger Bombs

- Steak and Onion

- Easy Strawberry Cake Roll

- Apricot Cake

- Keto Cream Cheese Chocolate Pound Cake